How to remove scratches ( Photos )

MrG

Well-Known Member
Messages
706
Reaction score
552
Location
Lake Tulloch Ca
 First off I have to apologize I could have done a much better job taking photos step-by-step. I took a few photos as I went along and then after the job was done I thought Gee I could've   Or should have taken pictures step by step.  But somethings better than nothing right ???


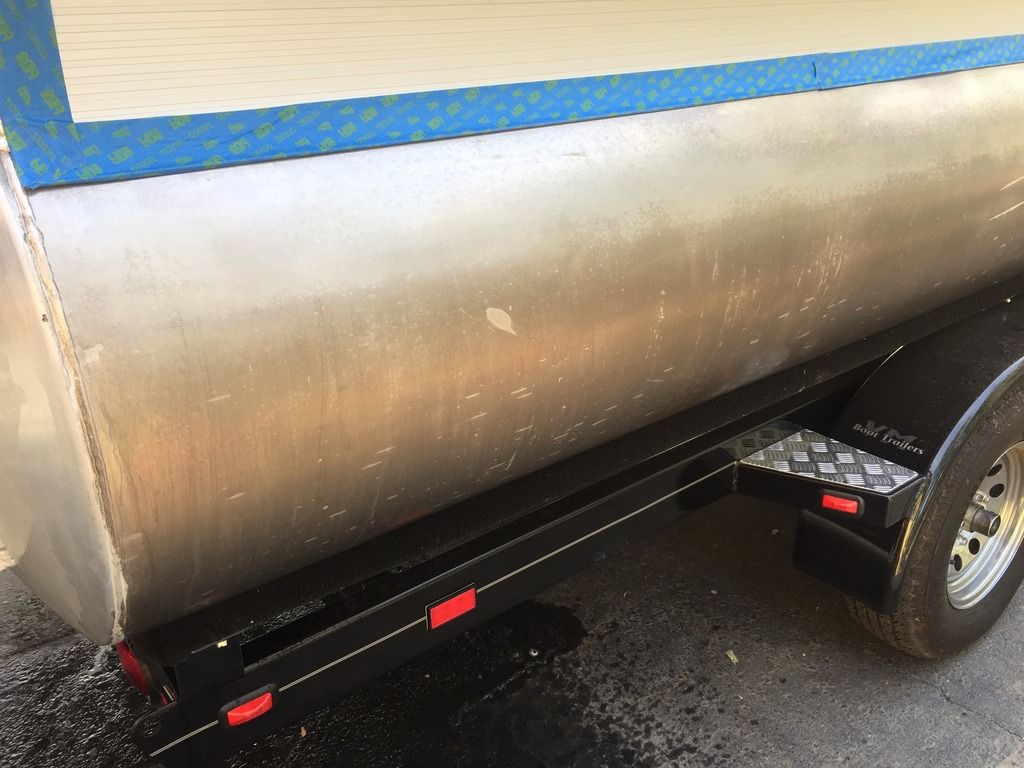
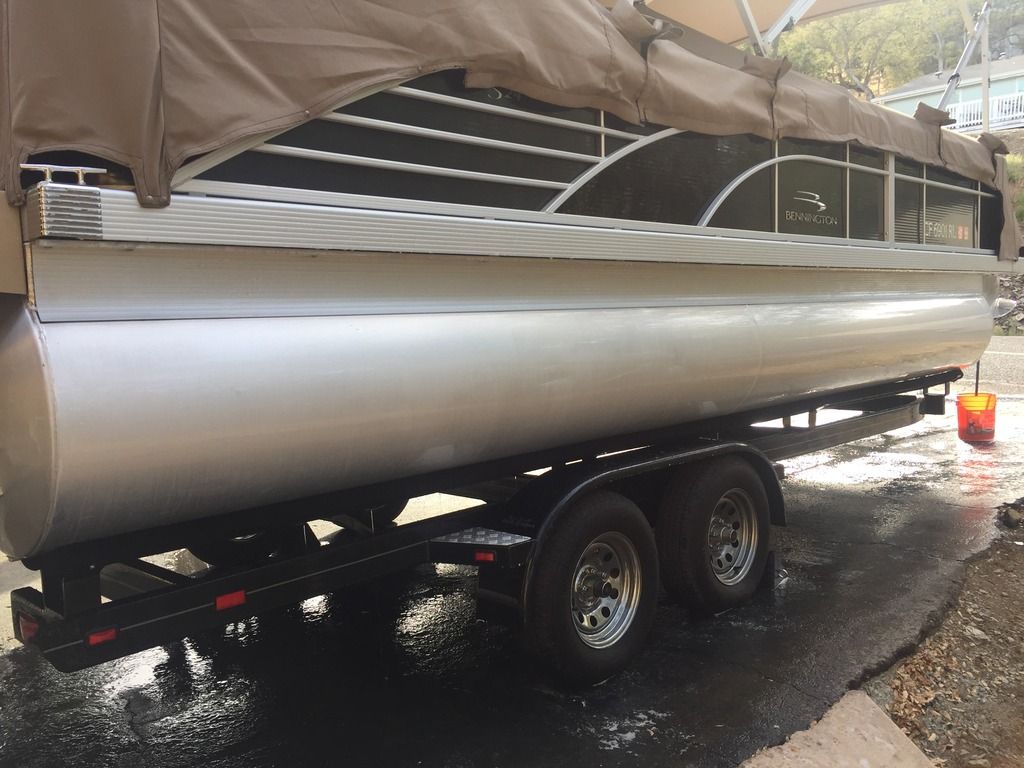
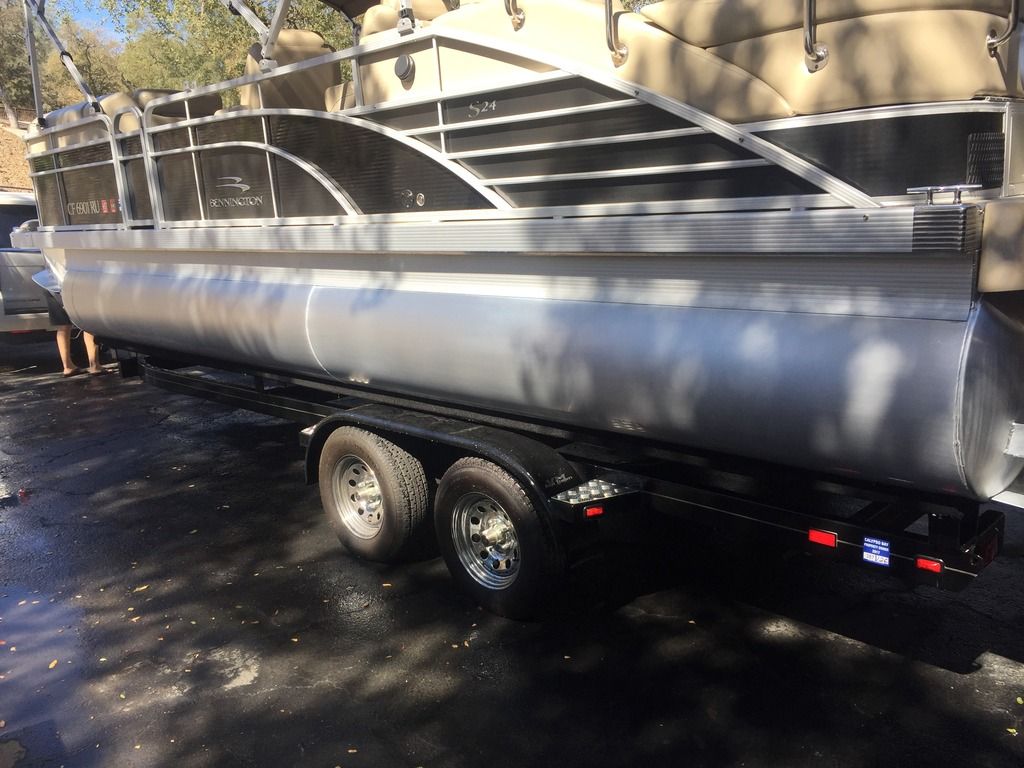
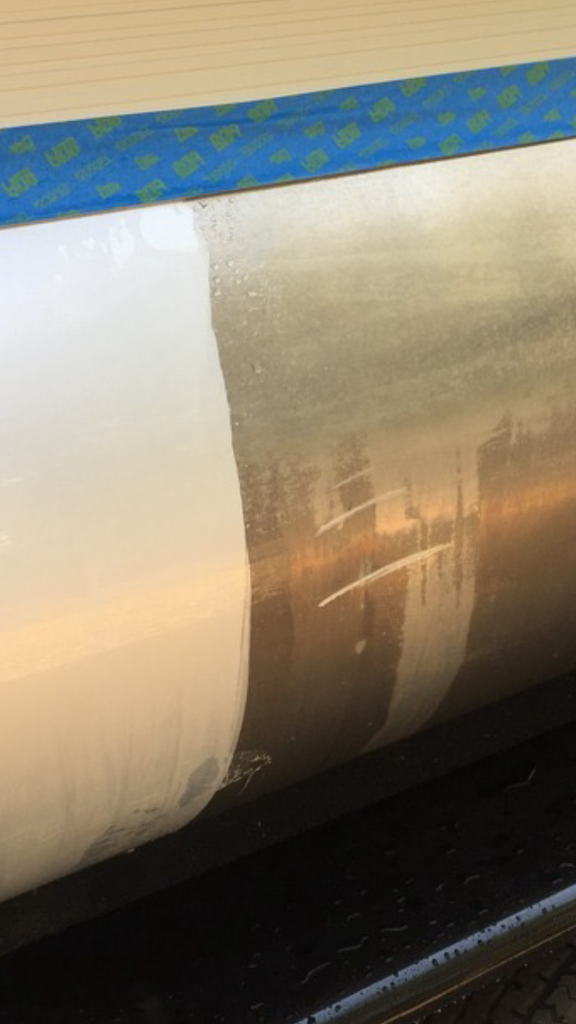
 OK first off this is not my boat it's my friends.  His driver side pontoon had a run-in with a dock.  These scratches were so deep that you could actually cut yourself on the scratched portion of the aluminum.  It look like wolverine or Freddy Krueger ran his hand down the side of the boat . 


 Here is a picture of some of the damage. And to add insult to injury they were not just scratches they were pretty good size dents which I can do nothing about.

B675CD0D-813A-40BE-9873-A04FA29C256B_zps4qgsz25e.png
 
Last edited by a moderator:
 Now this is where it gets tricky you need to decide on how aggressive of a grit to use.  Like I said the scratches were very very deep so I decided to start with 60 grit . 


Now before you get any Ideas of attacking the side of your boat with 60 grit.  Here is my disclaimer.  The dents in the boat were sort of a mixed blessing.  There was no way I could remove the dents.  And whenever you remove a scratch out of aluminum you need to remove material so you're sort of creating a dent in the aluminum to remove the scratch.  Now because I'm not worried about the scratched area being optically perfect because there's already a dent there  I sort of had cart Blanche. 


 I first started with 120 grit and I could tell I needed to go much more aggressive .  That's when I switched over to 60. 


 I just picked up a brand-new Dremel with quickchange sanding discs that I can highly recommend.  The reason being the Dremel is very easy to control and you can focus directly on the scratched area and not create a huge out of control work area like you would if you were using a dual action sander or a block .


here is a link to the sanding discs I am referring to


https://www.dremel.com/en_US/products/-/show-product/accessories/ez411sa-ez-lock-sanding-discs-60-grit


 I've never used these specific disks before today and they worked awesome. I like how you could focus directly on the scratch and how easily you could change between grits. 


 I started with 60 and when the scratch was completely removed I changed to 120 and then finished it with 240,  then by hand I used a block and 320. 


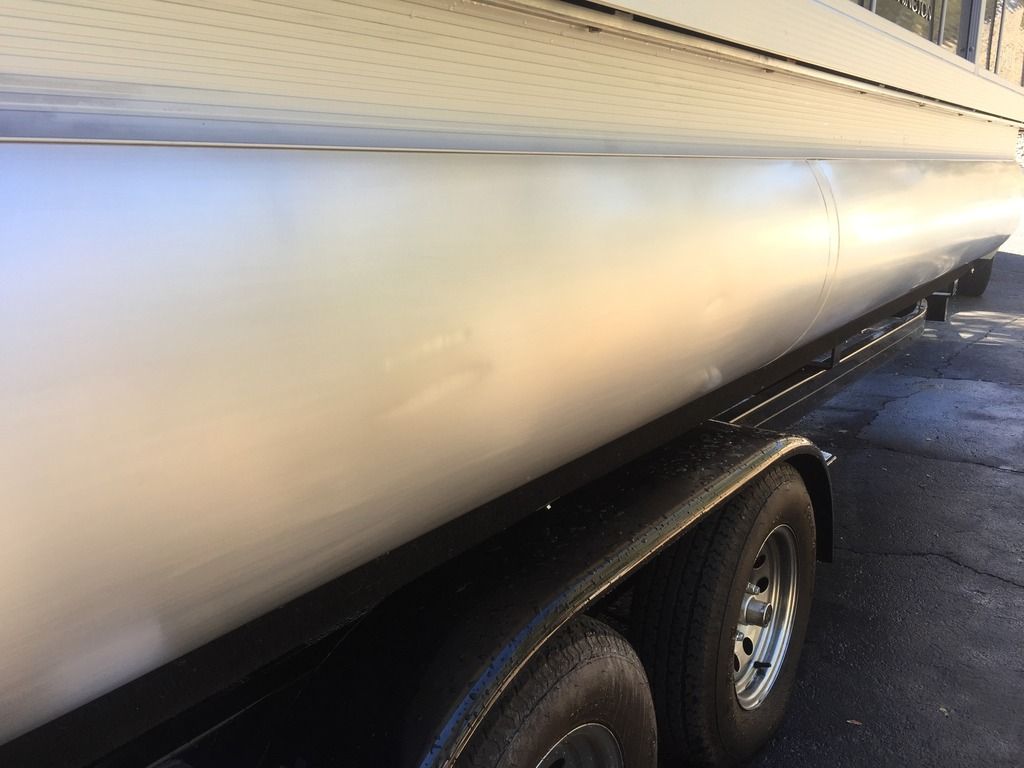
 I finished it off with a 3M red pad 
3FC08287-1E5C-4F41-A83A-157EF4D48515_zpsqy83zxgn.jpg
 
Last edited by a moderator:
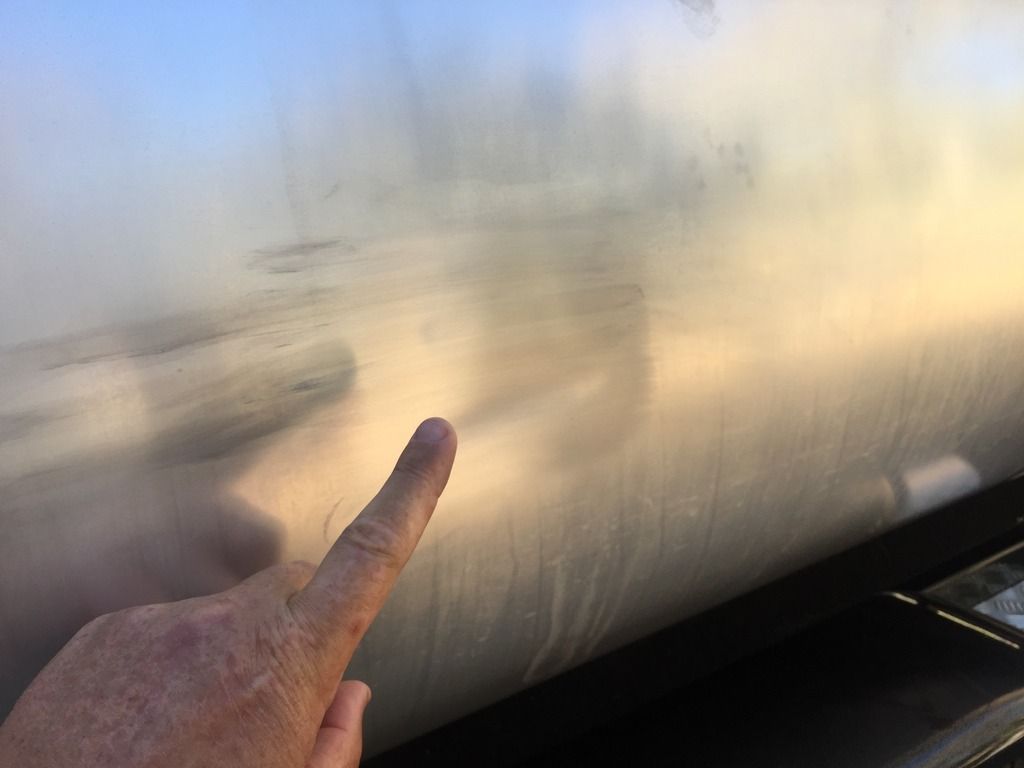
 There was a few scratches that I took care of that had no dents and they came out perfect I wished I would've done a before and after on those ones. 
3BF48A05-FE7F-47EC-A220-31DD0381DAE4_zpspwvlqghu.jpg
 
 If your scratch doesn't have a dent associate with it then you're going to definitely want to take a more artistic approach at it because if you're too aggressive with the Dremel tool  you can create quite a  Valley  removing the scratch. it's a delicate balance removing enough material but not creating a Divet. 
 
Thanks for sharing!
 
Thanks for the advice! The front inside of my toons have had a few arguments with the trailer (rookie tooner!) I can definitely use this to dress my boat up!!
 
Back
Top