Jim_R
Well-Known Member
- Messages
- 442
- Reaction score
- 37
Another of my many second season upgrade projects was to use some of the SMD 5050 RGB LED strip 'left over' from my perimeter lighting project as interior accents. This DYI RGB cup holder idea is one of those uses.
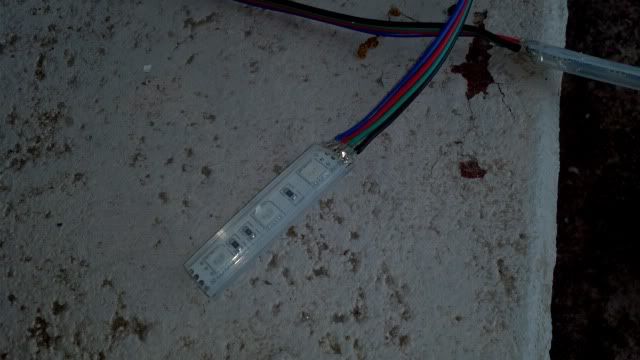
In another thread on compartment lighting, I introduced the concept of cutting strips down into shorter segments, and soldering lead wire to form individual components. The SMD 5050 strips I have allow for cutting every three LEDs, or two inches, and have soldering pads for attaching the 4 lead wires - Red, Green, Blue and +12V (Black). Here is a two inch segment after cutting, splicing, and waterproofing with silicone.
My cupholders are plastic, not SS like most supplied by Bennington today, but these methods work with either.
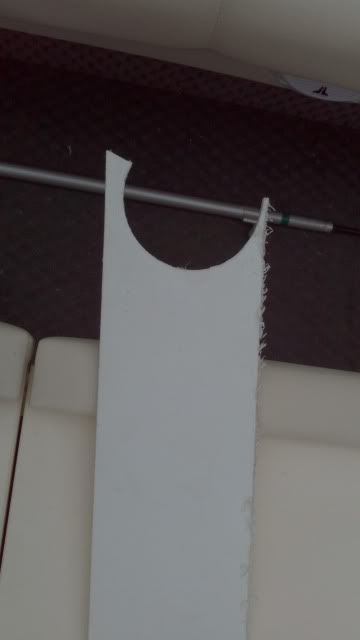
To modify the cupholders, I had to remove them first. In my case this was much easier said than done. In the year my boat was made, Bennington wrapped the cupholders with what appears to be masking tape, and force fit them in the mounting holes. Some were relatively easy to remove, while others were difficult. The cupholders mounted in the rear L shaped seating group were the most difficult, as there was no access from underneath. I eventually crafted this "cupholder removal tool" which allowed me to apply enough leverage to remove them.
With the cupholders removed, I then drilled holes to align with the three leds - if like me, one has 10 cupholders to modify, creating a template helps a great deal.
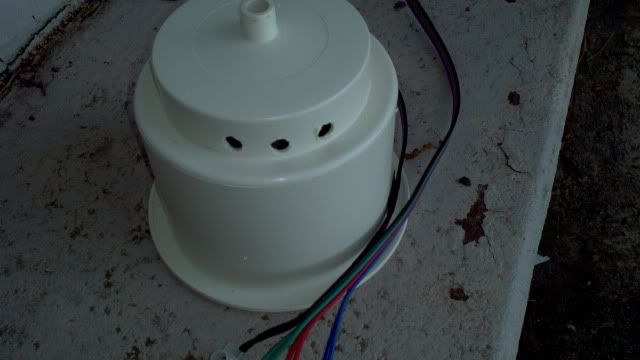
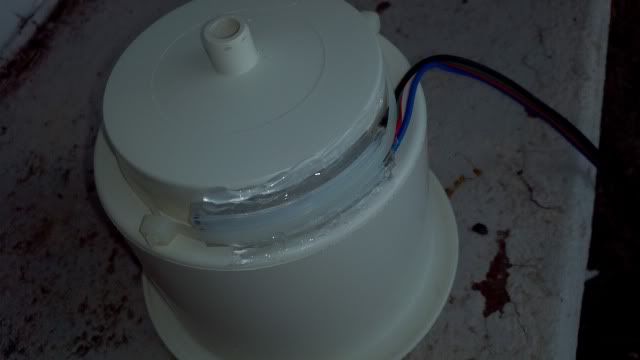
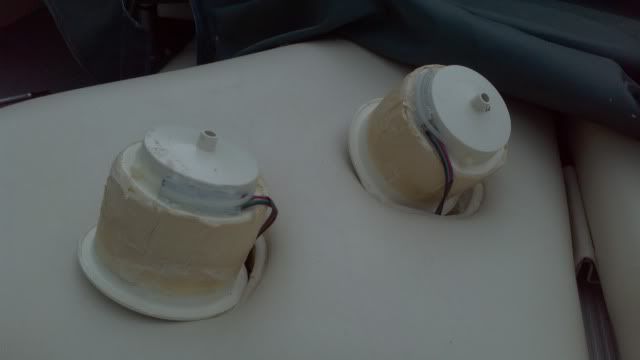
Next I installed the LED strip over the cutout using silicone as an adhesive, and secured it in place with zip ties. The zip ties could probably be removed once the silicone dries, I am just leaving them in place.
Bennington usually supplies cupholders in pairs. Here are a pair of leds wired together using a European style electrical screw terminal block connector. These connectors typically come in 12 connector lengths and can be cut down, so I created multiple 4 connector blocks to facilitate wiring of the 4 connector RGB wire. I wired up the LEDs first, tested them, connected them together, tested them again, then mounted them to the cupholders.
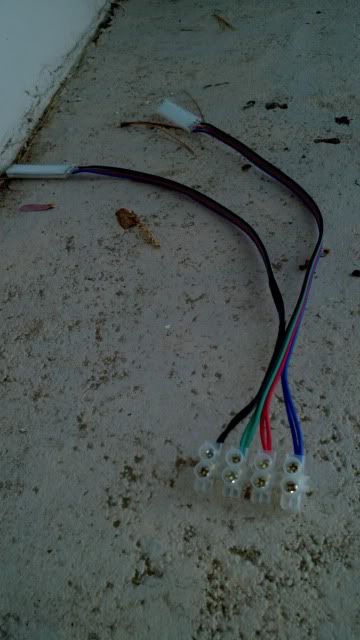
I wired up the LEDs first, tested them, connected them together, tested them again, then mounted them to the cupholders. Doing it this way meant I had to install them to the cup holders, or at least the second cupholder, at the boat.
Like any 4 wire RGB LED strips, these require a controller for color changes, fades, brightness, etc. here's a pic of a couple installed.
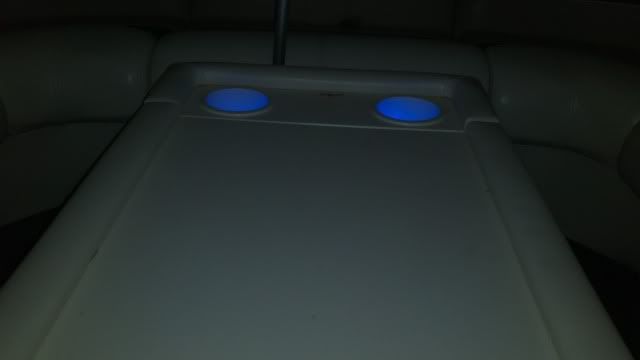
Enjoy!
In another thread on compartment lighting, I introduced the concept of cutting strips down into shorter segments, and soldering lead wire to form individual components. The SMD 5050 strips I have allow for cutting every three LEDs, or two inches, and have soldering pads for attaching the 4 lead wires - Red, Green, Blue and +12V (Black). Here is a two inch segment after cutting, splicing, and waterproofing with silicone.
My cupholders are plastic, not SS like most supplied by Bennington today, but these methods work with either.
To modify the cupholders, I had to remove them first. In my case this was much easier said than done. In the year my boat was made, Bennington wrapped the cupholders with what appears to be masking tape, and force fit them in the mounting holes. Some were relatively easy to remove, while others were difficult. The cupholders mounted in the rear L shaped seating group were the most difficult, as there was no access from underneath. I eventually crafted this "cupholder removal tool" which allowed me to apply enough leverage to remove them.
With the cupholders removed, I then drilled holes to align with the three leds - if like me, one has 10 cupholders to modify, creating a template helps a great deal.
Next I installed the LED strip over the cutout using silicone as an adhesive, and secured it in place with zip ties. The zip ties could probably be removed once the silicone dries, I am just leaving them in place.
Bennington usually supplies cupholders in pairs. Here are a pair of leds wired together using a European style electrical screw terminal block connector. These connectors typically come in 12 connector lengths and can be cut down, so I created multiple 4 connector blocks to facilitate wiring of the 4 connector RGB wire. I wired up the LEDs first, tested them, connected them together, tested them again, then mounted them to the cupholders.
I wired up the LEDs first, tested them, connected them together, tested them again, then mounted them to the cupholders. Doing it this way meant I had to install them to the cup holders, or at least the second cupholder, at the boat.
Like any 4 wire RGB LED strips, these require a controller for color changes, fades, brightness, etc. here's a pic of a couple installed.
Enjoy!
Last edited by a moderator:
")
 I even fudged the pic of my cupholder removal tool. I can't fix the title, but at least I was able to fix the pic.