I posted bits and pieces of my interior LED lighting install in other threads and I've been meaning to post more detail on it. I got a message from another member asking about it this weekend, so here it is. Last summer I added some LED lights to the interior of my boat. They are possibly my favorite add-on that I've done so far. The lights I used were these TaoTronics 150 LEDs. They have a higher density set but I find the light to be great from the 150's. I also ordered a length of 4-wire RGBW extension cable that I used to connect the control unit to the individual light strips. I'm pretty sure the piece I got was 10 meters, like this one. Other than that, the only other parts included silicone, zip ties, heat shrink, solder and a soldering iron. I haven't done much soldering but after a couple practice runs, it was easy enough. I smoked a couple pieces figuring it out. There are lots of videos on YouTube to teach you how to do the soldering part, like this one.
So the first thing I did was measure the length of my light strips. I put them under all of my fixed seats with an overhang. I skipped the moveable bow seat and I didn't put them back by the loungers because there just wasn't any place great for them back there. My goal was to see the light from the lights but not the lights themselves.
Once I had my measurements, I went to work soldering dongles onto each piece and testing them. That way if there was a problem on the boat, I knew the strand was okay. The dongles were just 1-2 foot pieces of the extension wire that I soldered on to the measured light strips. I then used small wire nuts and electric tape to attach them to the longer wire runs that I pulled from the helm throughout the boat.
Next up, it was time to figure out how to pull the wires around. You'll want a fish tape, fish sticks or something similar for doing this. I have a 2275 GCW with full wave shield so there isn't a lot of access down there. I started at the helm with a fish tape and sent a wire out the side. I then fished that back up into the bow starboard seat. There was already power steering stuff going between there which made for a nice access point.
From the starboard seat, I dropped the wire through the existing hole below the front starboard speaker. I fished it across the boat there to the port seat and up through that speaker wire opening. From there, I fished another wire down the port side to a hole I drilled through the seat opposite the helm on the port side. That is the only hole I drilled for the project. I drilled it from within the seat and sealed it up with plenty of silicone after pulling the wire through.
Okay, so now all the wires are run...
Attaching the lights. I fiddled with attaching them on the forward facing surface vs. the downward facing and I decided I liked the forward facing look the best. See pics below. The adhesive on the lights has proven to be pretty good. There are a couple points where I've added a little dab of super glue where the adhesive wasn't keeping up. It's been about 9 months since I installed these and they're still sticking on there nicely with the help of glue in a few spots. They might end up needing more after more time.
Once the lights are installed, I simply connected them to my main wires with small wire nuts and electrical tape. I cleaned it all up by drilling small holes in the edge of interior seat bases and using zip ties to force it under the edge. I made sure the holes didn't affect drainability or any seat function. I didn't take great photos of that, but take a look under a seat and it should be pretty easy to figure out.
Okay, so now lights are connected to the main wires running through the boat. On to the helm. I had some extra switches not being there. To make that work, I had to cut the power cord to the A/C adaptor to the lights and wire it into the positive and negative on that switch. I just wire nutted and taped the connections. A volt meter can be handy to figure out which wire is positive or negative on the adaptor, but I think you can just test it too (before you finalize the connection). Not sure on that though so don't blame me if that's not the case.
So now light control is attached to a helm switch and lights are all connected to the controller. Almost done! The last thing I did was locate my light controller right by the door of my helm. I didn't actually attach it there, but I set it up so that the IR receiver can sit right under the edge of the helm door. That way you can still use the remote control throughout most of the boat to change light color and effects. I've since decided that I leave them on red almost all the time because it's best for star gazing. If you wanted to change light colors a lot, you could mount that IR receiver in a more prominent location.
I think that's it, now some photos. I failed to take any progress photos, or even any good night shots of them, but hopefully these will fill in some blanks.
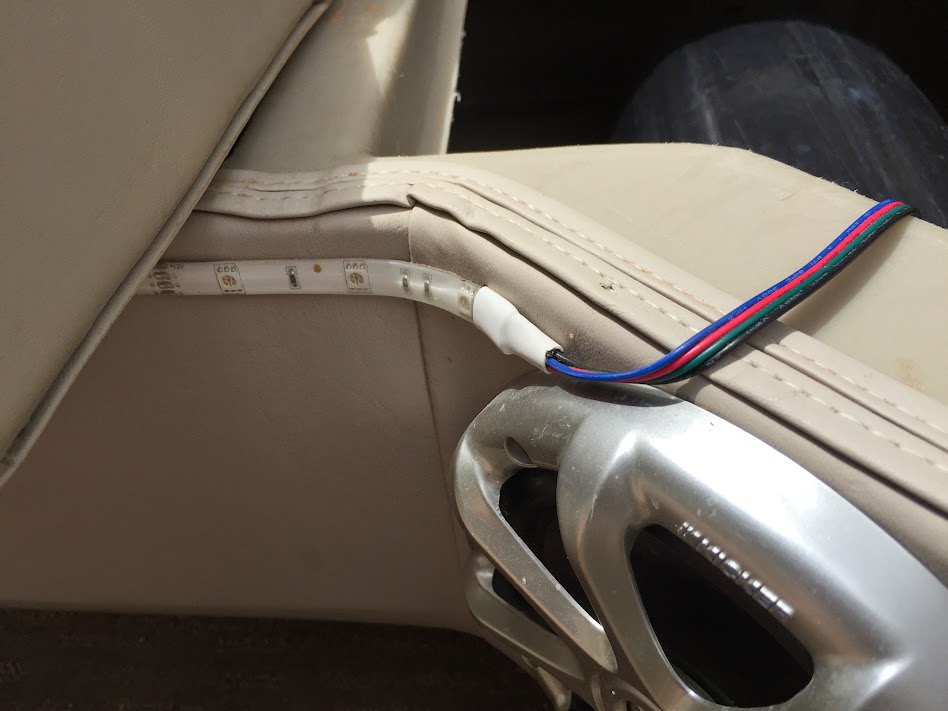
Wiring run out from under the seat to a strip of LEDs. You can also see the heat shrink+ solder connection there. The flat wiring made me feel okay just running them under the seat edge. No holes.
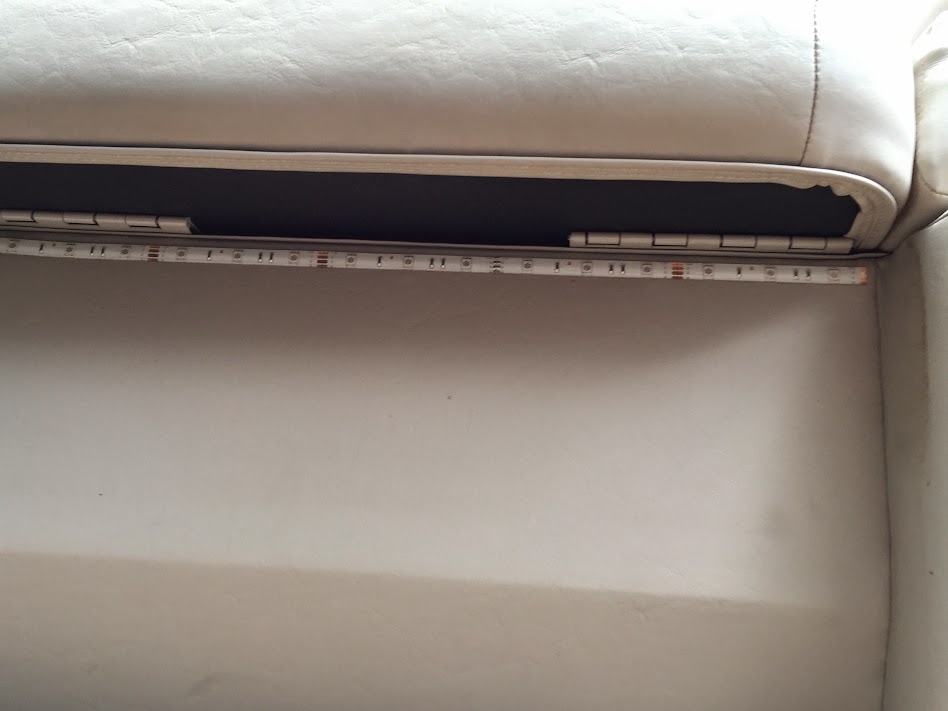
A light strip under a seat edge.
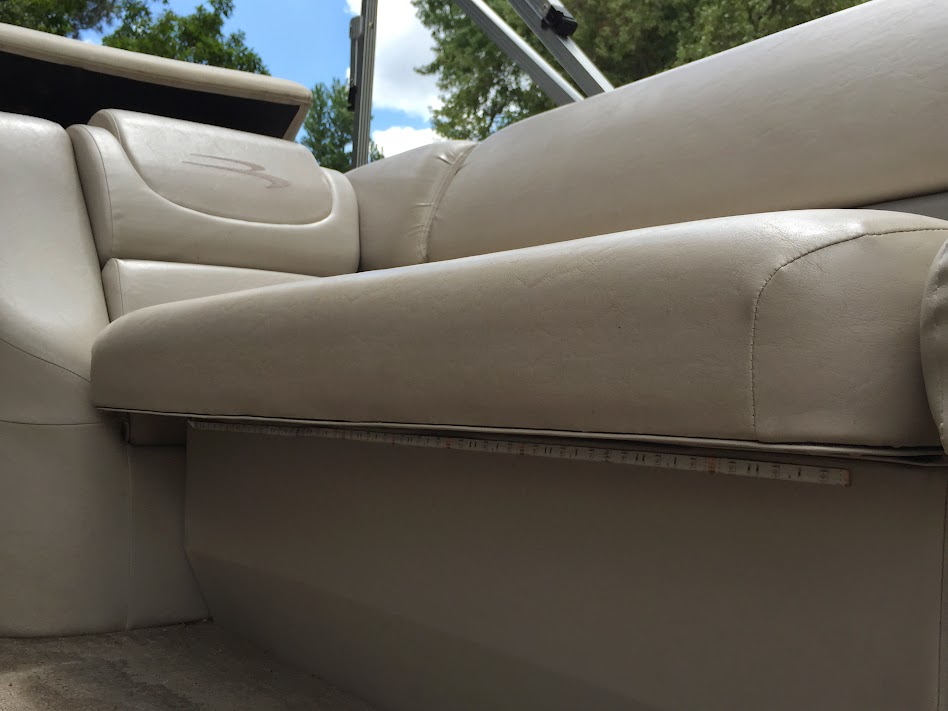
Another...
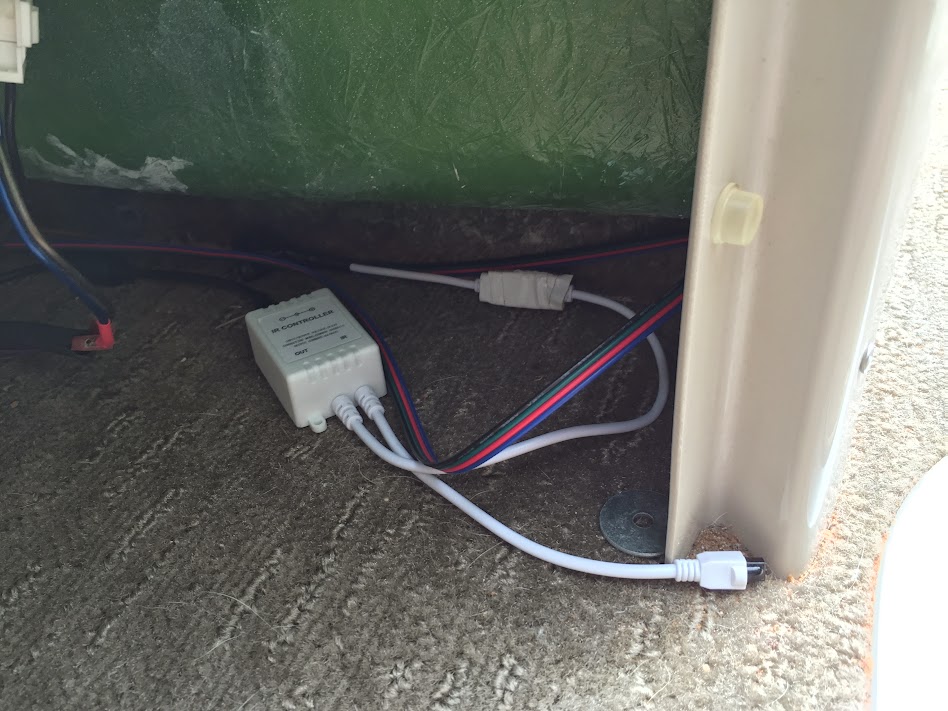
The control and IR receiver under the helm. Having it that far out makes the remote able to get IR commands to it but you can't see it with the door closed. Don't mind the random washers that have been falling out from under my helm or the fact that I haven't vacuumed from the trip I just got back from.
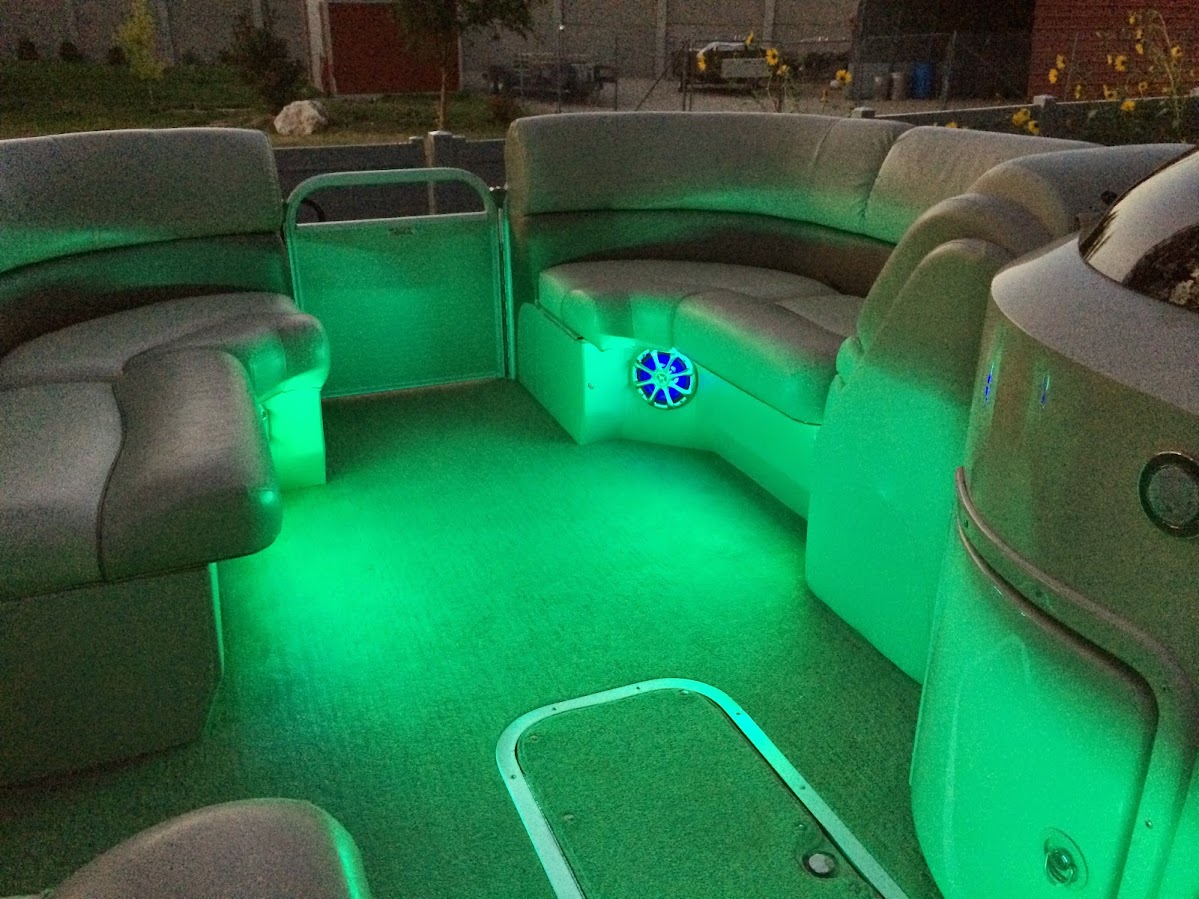
Once they're wired up, you can choose from a rainbow of colors. These are not so great cell phone photos of a couple of them.
White
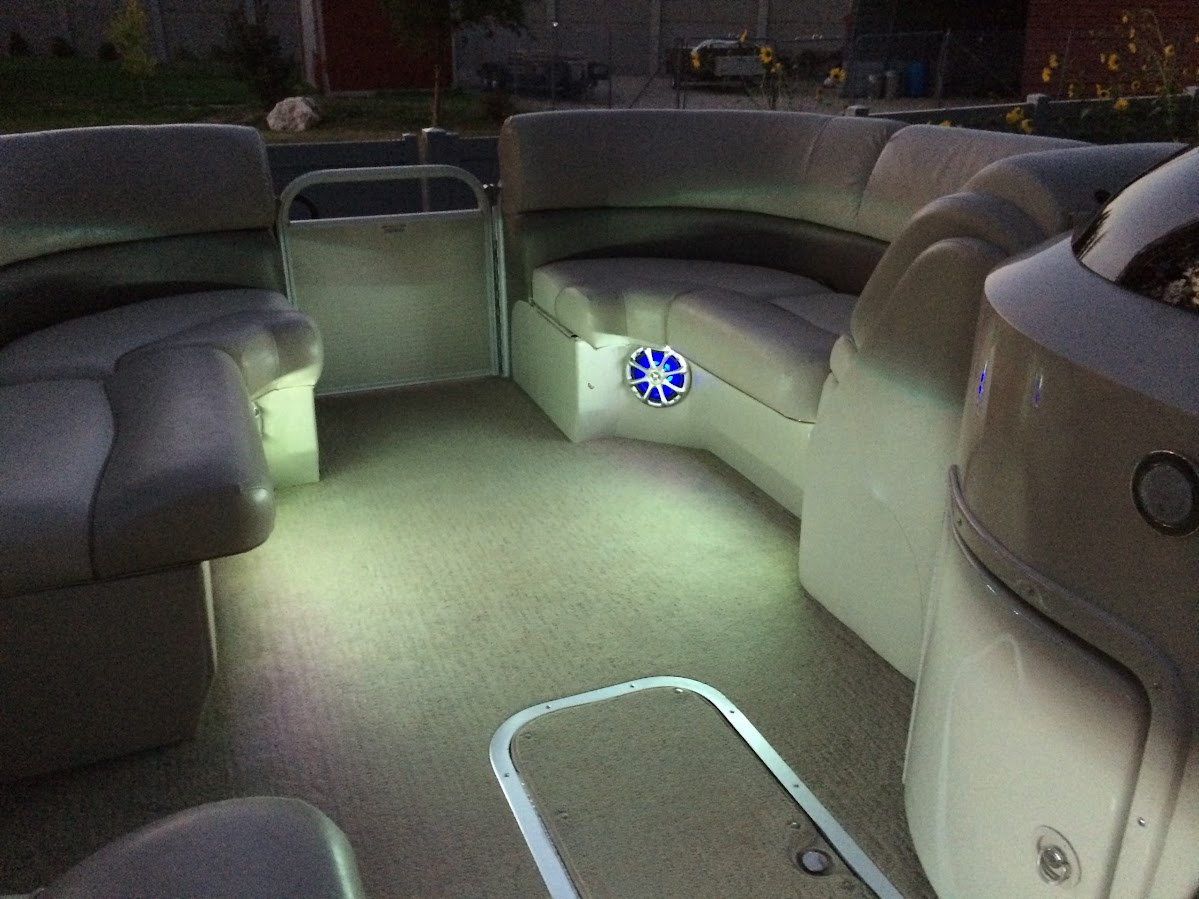
Green
And last, this one is of the red interior lights along with our green fishing light.

So the first thing I did was measure the length of my light strips. I put them under all of my fixed seats with an overhang. I skipped the moveable bow seat and I didn't put them back by the loungers because there just wasn't any place great for them back there. My goal was to see the light from the lights but not the lights themselves.
Once I had my measurements, I went to work soldering dongles onto each piece and testing them. That way if there was a problem on the boat, I knew the strand was okay. The dongles were just 1-2 foot pieces of the extension wire that I soldered on to the measured light strips. I then used small wire nuts and electric tape to attach them to the longer wire runs that I pulled from the helm throughout the boat.
Next up, it was time to figure out how to pull the wires around. You'll want a fish tape, fish sticks or something similar for doing this. I have a 2275 GCW with full wave shield so there isn't a lot of access down there. I started at the helm with a fish tape and sent a wire out the side. I then fished that back up into the bow starboard seat. There was already power steering stuff going between there which made for a nice access point.
From the starboard seat, I dropped the wire through the existing hole below the front starboard speaker. I fished it across the boat there to the port seat and up through that speaker wire opening. From there, I fished another wire down the port side to a hole I drilled through the seat opposite the helm on the port side. That is the only hole I drilled for the project. I drilled it from within the seat and sealed it up with plenty of silicone after pulling the wire through.
Okay, so now all the wires are run...
Attaching the lights. I fiddled with attaching them on the forward facing surface vs. the downward facing and I decided I liked the forward facing look the best. See pics below. The adhesive on the lights has proven to be pretty good. There are a couple points where I've added a little dab of super glue where the adhesive wasn't keeping up. It's been about 9 months since I installed these and they're still sticking on there nicely with the help of glue in a few spots. They might end up needing more after more time.
Once the lights are installed, I simply connected them to my main wires with small wire nuts and electrical tape. I cleaned it all up by drilling small holes in the edge of interior seat bases and using zip ties to force it under the edge. I made sure the holes didn't affect drainability or any seat function. I didn't take great photos of that, but take a look under a seat and it should be pretty easy to figure out.
Okay, so now lights are connected to the main wires running through the boat. On to the helm. I had some extra switches not being there. To make that work, I had to cut the power cord to the A/C adaptor to the lights and wire it into the positive and negative on that switch. I just wire nutted and taped the connections. A volt meter can be handy to figure out which wire is positive or negative on the adaptor, but I think you can just test it too (before you finalize the connection). Not sure on that though so don't blame me if that's not the case.
So now light control is attached to a helm switch and lights are all connected to the controller. Almost done! The last thing I did was locate my light controller right by the door of my helm. I didn't actually attach it there, but I set it up so that the IR receiver can sit right under the edge of the helm door. That way you can still use the remote control throughout most of the boat to change light color and effects. I've since decided that I leave them on red almost all the time because it's best for star gazing. If you wanted to change light colors a lot, you could mount that IR receiver in a more prominent location.
I think that's it, now some photos. I failed to take any progress photos, or even any good night shots of them, but hopefully these will fill in some blanks.
Wiring run out from under the seat to a strip of LEDs. You can also see the heat shrink+ solder connection there. The flat wiring made me feel okay just running them under the seat edge. No holes.
A light strip under a seat edge.
Another...
The control and IR receiver under the helm. Having it that far out makes the remote able to get IR commands to it but you can't see it with the door closed. Don't mind the random washers that have been falling out from under my helm or the fact that I haven't vacuumed from the trip I just got back from.
Once they're wired up, you can choose from a rainbow of colors. These are not so great cell phone photos of a couple of them.
White
Green
And last, this one is of the red interior lights along with our green fishing light.
Last edited by a moderator:

