Bimini Frame inner dimensions

MrG

Well-Known Member
Messages
667
Reaction score
497
Location
Lake Tulloch Ca
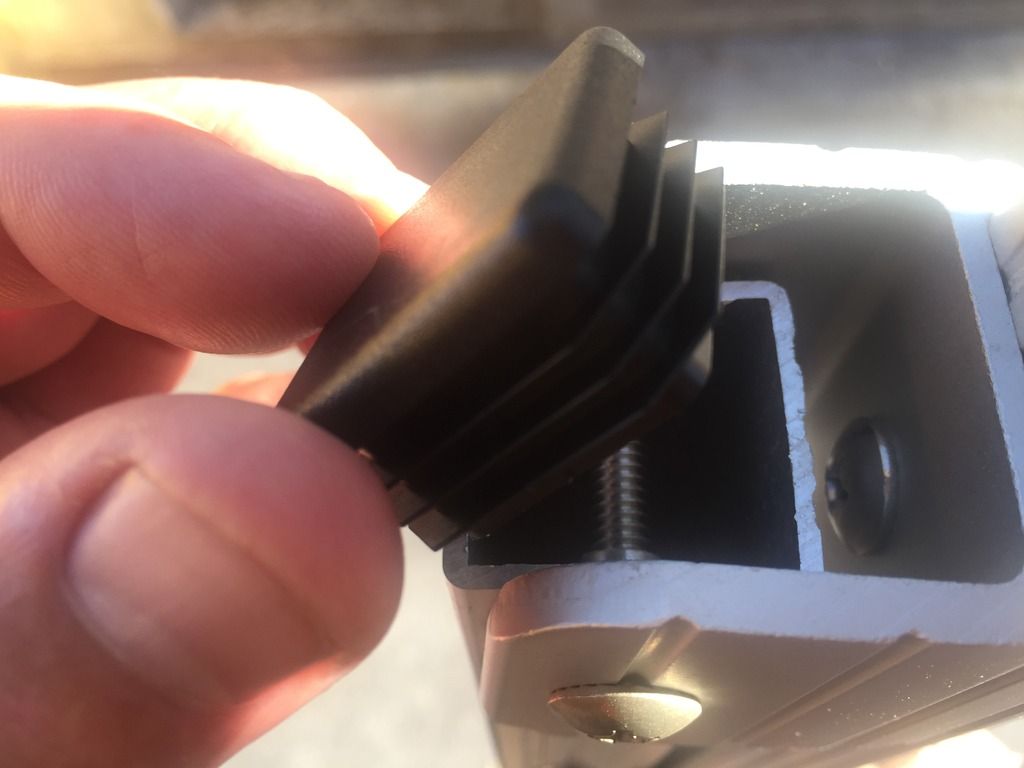
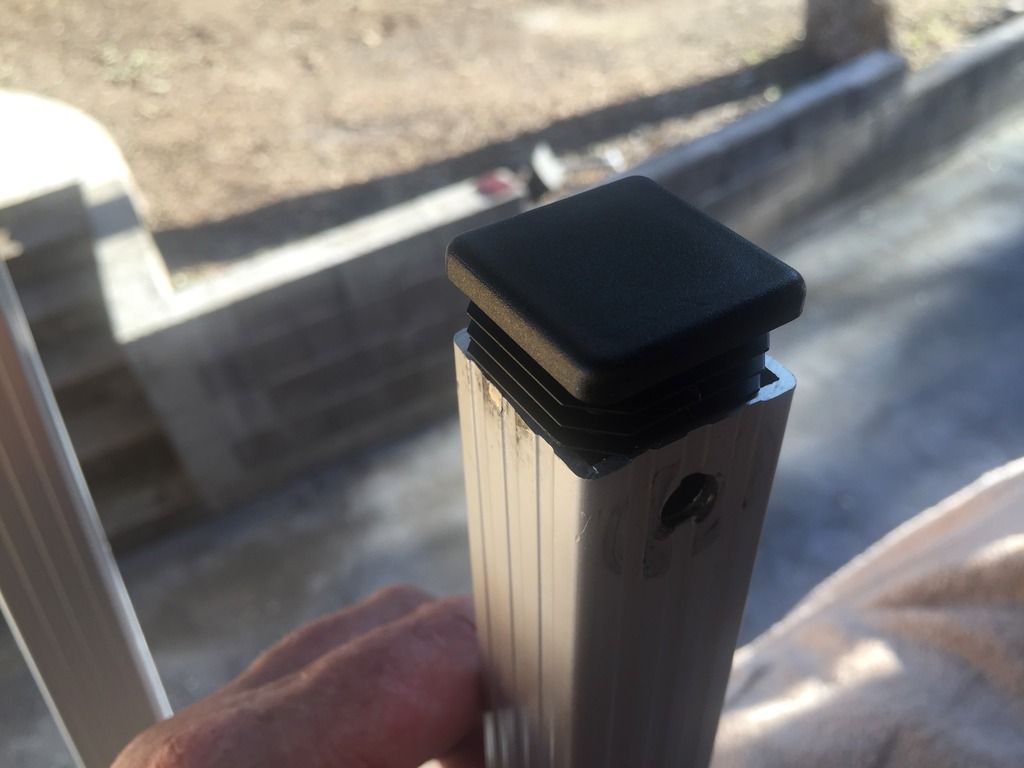
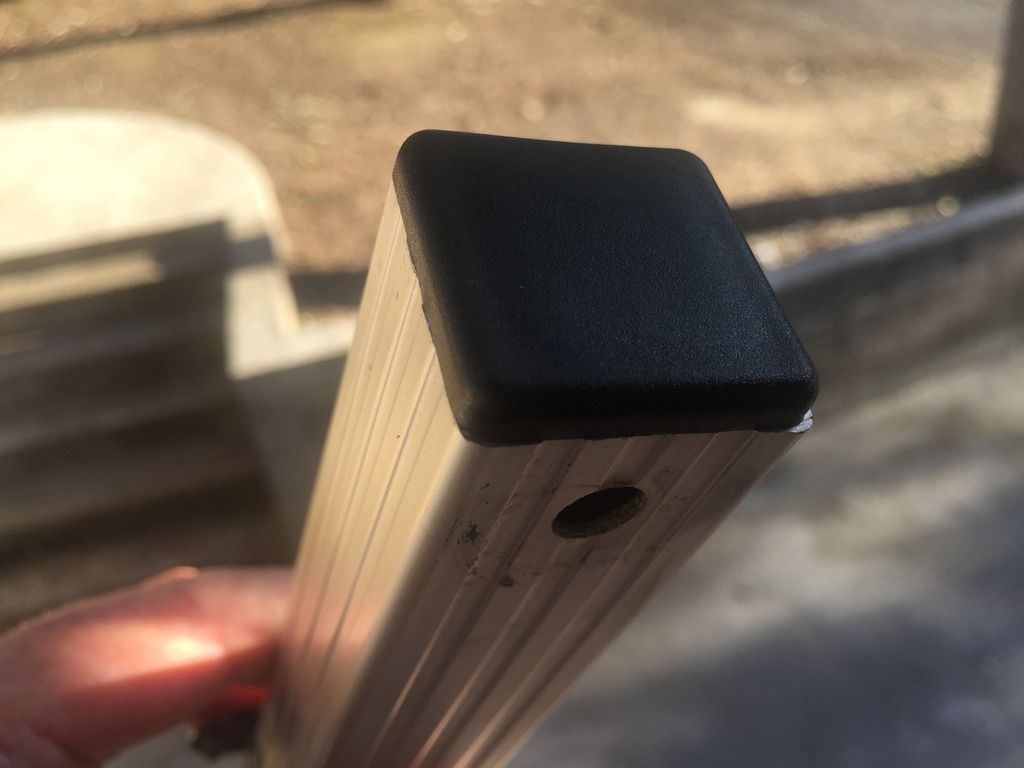
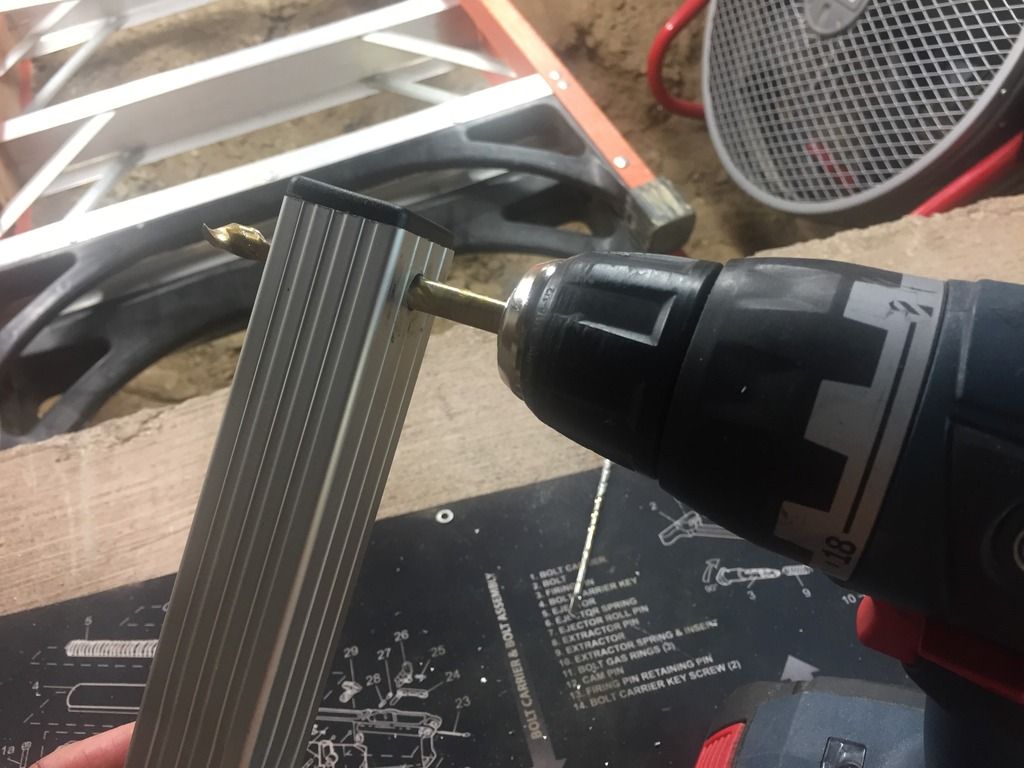
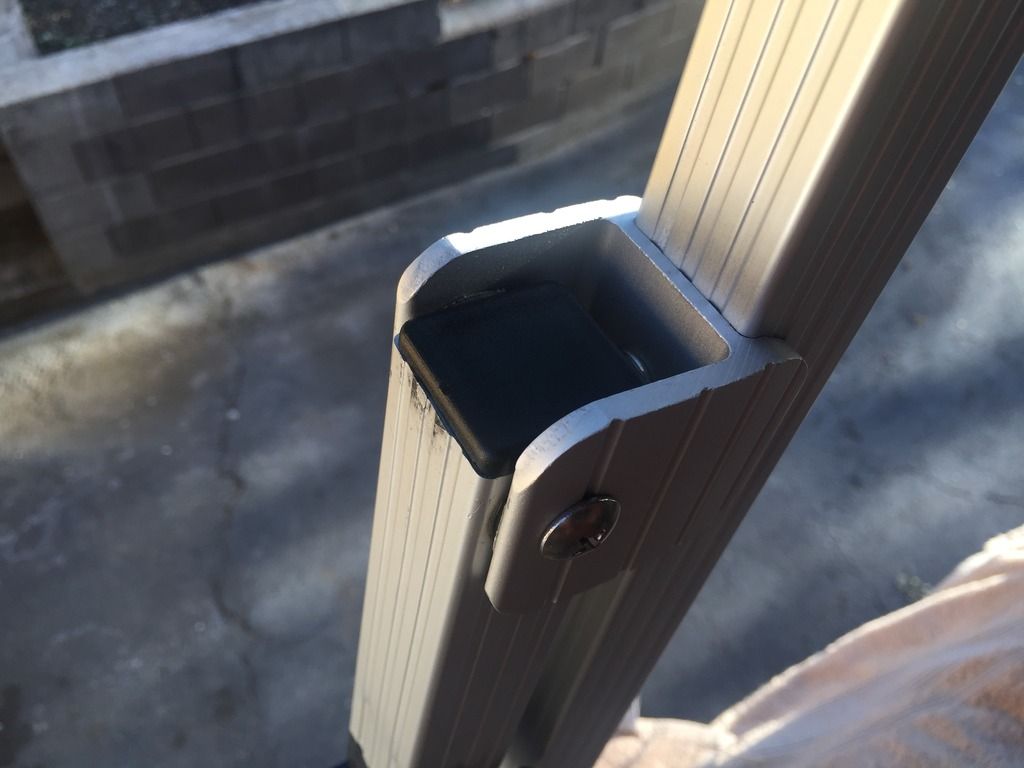
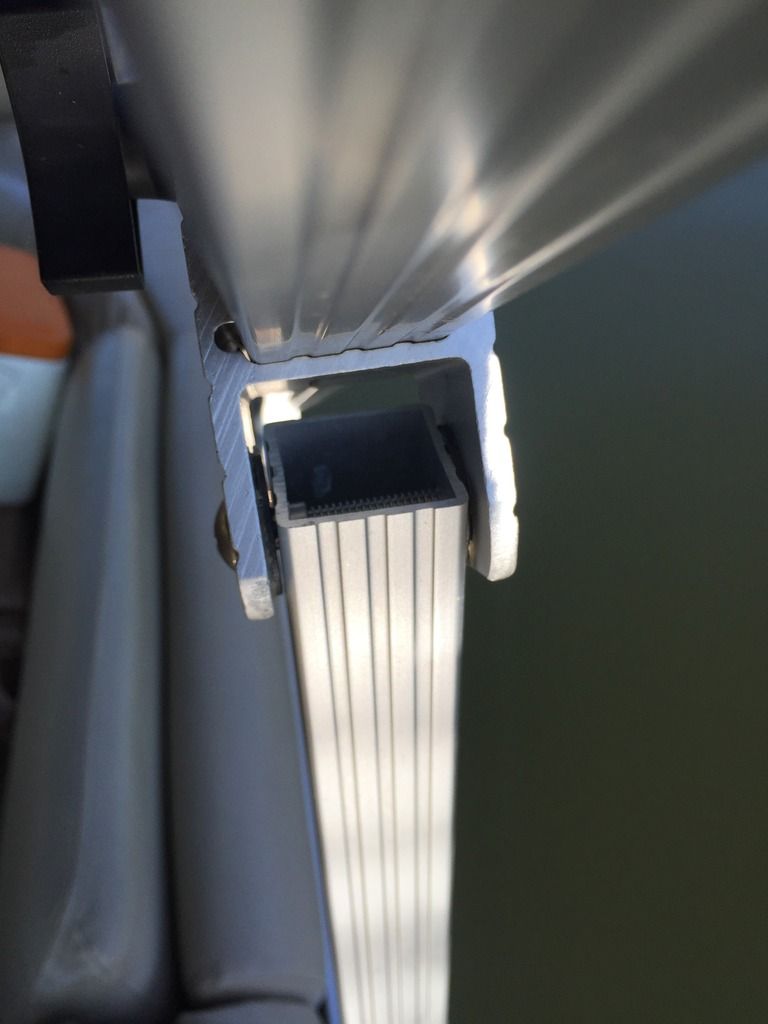
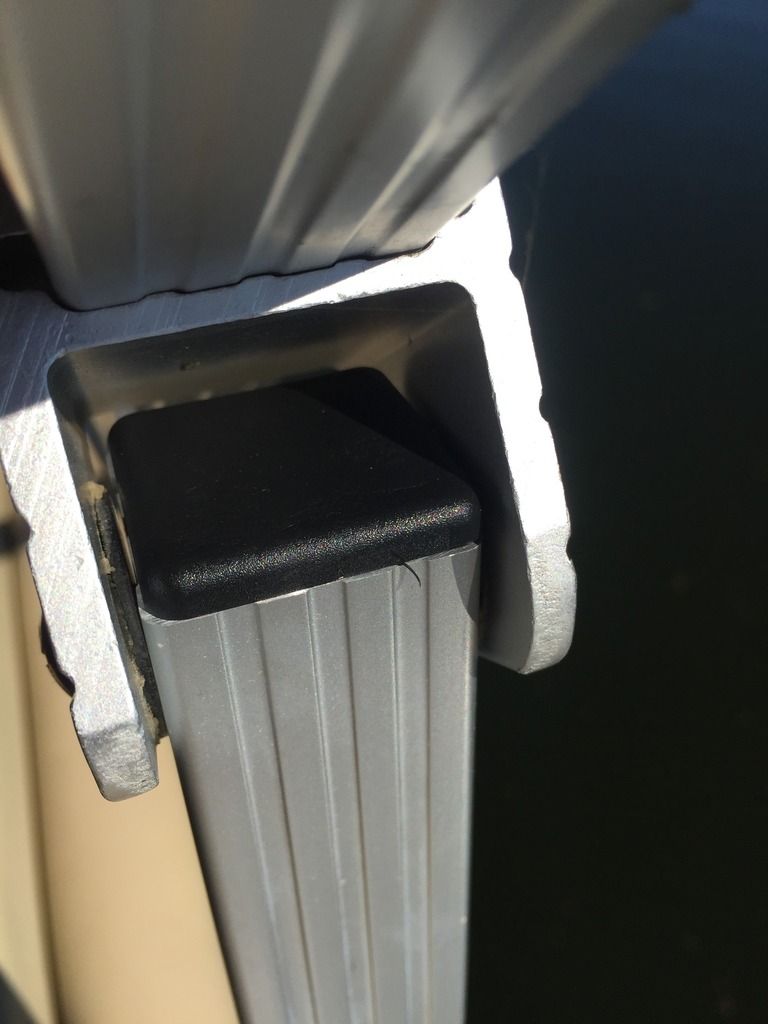
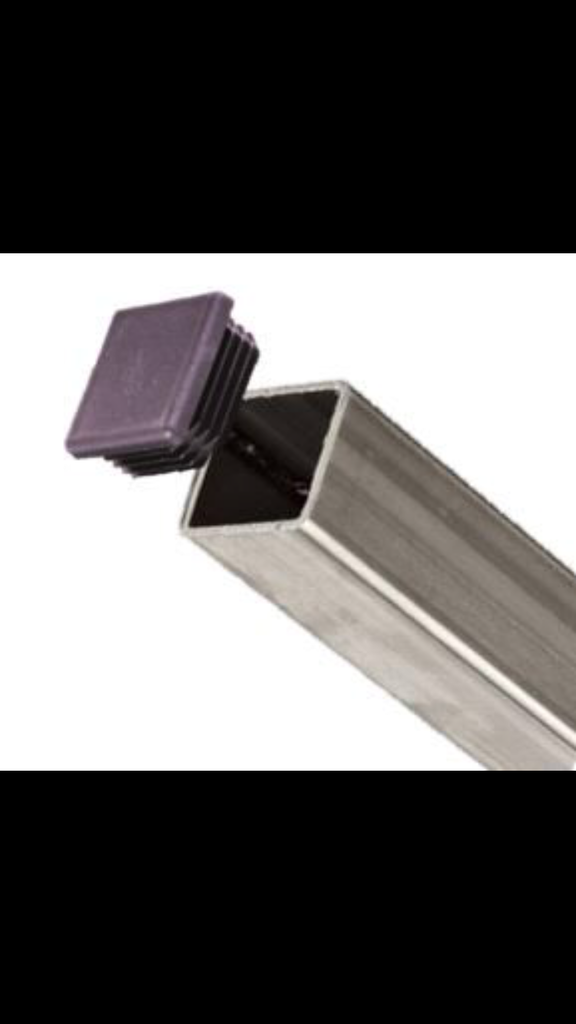
Hey I wanted to order some plastic square plugs that would fit or slide into the inner section of the Bimini Frame. I was wondering if anyone had a accurate inner dimension. 


I was planning on ordering them from Mc Mastercar. I will reward you with a set for your boat for a accurate measurement. My boat is at the lake and I can't get to it. 


https://www.mcmaster.com/#plastic-finishing-plugs/=17e88re


i will post a photo of what I'm talking about
 
Here ya Go! 


55A2B822-E09F-4A7B-8916-F51A2463D0BD_zpsicecfoxo.png
 
No reward needed but I can swing thru the barn on my way home and get you measurements, I should dig it out of there sooner or later anyway!
 
I just went out and measured. 1 3/32" Looks like these: 9565K53
 
Beat me to it!! ;)  
 
They come in 50 Packs. I can order a 50 pack and then send them to who ever. 


Thanks Cwag911


you recommend the part number in your post. I'll order them now
 
I have been wanting to get these plugs for some time now but season after season I keep forgetting. The spiders are in season right now. The other week I saw a spider make his way into and up the Bimini leg, and I thought to my self  "Humm?? Nothing good is going to come out of that" :)  
 
Stick a few dryer sheets in the ends of the boots. (Just remember to take them out before opening the Bimini) 
 
I looked at mine the other day and it looks like it will almost rub when rotating the leg. Have you found that to be the case?
 
No issues with "clearance Clarance" I have 2 other Bennington's to do here.  Our R and A Friends G But perhaps Cwag911 can report back, when he gets his installed. The plugs are very tight. I use a Hardplastic mallet to slam them in and they break off some of the plastic ribs in the process. It's not a issue I would rather have them to tight then to loose. Just give everyone a heads up. 
 
Looks like a good fit, I order from them a lot I'll have to get a pack and try it out. 
 
Yesterday I did all of my Bimini legs. All legs "except" the leg that has the Bimin lights running threw it. No rubbing issues.


tip #1 use a Large Philips head screw driver a #3 head I believe. 


On my boat the Philips head facing into the boat is the one you torque on. (To take off and put on) With the caps off it's easy to see. It's the philips head that has the insert. In my first pic you can see a small section on the Philips sticking up It's the Philips at facing the bottom of the picture frame.


on my boat it has 2 black rubber washers on either side of the Bimin frame.  Depending on how old your boat is and if the have come un glued, you may need to use a dab of rubber cement to hold these washers in place so you can easily slide the bolts threw the frame. The rubber washers can come dislocated and make it a pain in the But to slide a bolt threw. 


Benningtion uses what feels like some sticky Anti seaze on hardwear to keep them from backing out. After you take the hardwear off it's all but gone. I decided to use just a drop of blue lock tight to keep the hardwear in place. Seeing as how the hardwear is some what specialized you don't wanna have to run to your local hardwear store and try and find replacement hardware should one fall out and into the water. 


One thing i Ng I thought about after the fact is if you were to cut a groove in the plastic inserts to make room for the bolt you could completely avoid having to take your Bimini apart to install these.


then all you would need is a square piece of wood to act as a extension and as a driver to hit with the hammer to drive the plastic pieces in with I think that's how I will do the next set. I will get a small piece of tape to hold the plastic to the wood driver so it holds the plastic in place and then drive it home :)


one last thing when you drive them into the bimini frames the fit is so tight it's normal for a few of the plastic legs on the plastic insert to break off and or hang up at the edge of the insert. I don't know if one micro size smaller exist to ease installation or do away with the need for a hammer to install them
 
Back
Top