MrG
Well-Known Member
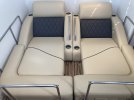
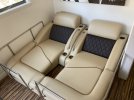
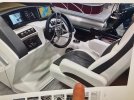
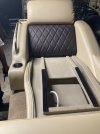
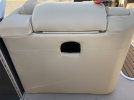
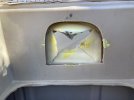
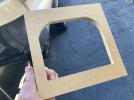
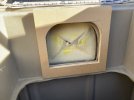
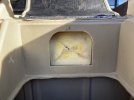
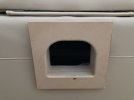
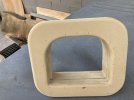
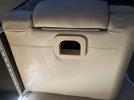
Well we started the process of redoing the entire interior on our 2012 2575 QCW
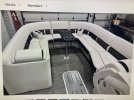
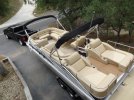
Our boat has 1800+ Hrs & slowly but surely the Interior has started to fail. So we pulled the trigger and started on it. I liked the Look of The stock interior but at the same time I wanted to Update the look. With that said I didn’t wanna do some color combo or pattern I regret. So we decided to just update or change “the Accent color” Our stock Interior was “Fawn” & the Accent color was a Light tan with ostrich pattern. I Will post a picture below of what the stock interior looked like when it was NEW in 2012
Our boat has 1800+ Hrs & slowly but surely the Interior has started to fail. So we pulled the trigger and started on it. I liked the Look of The stock interior but at the same time I wanted to Update the look. With that said I didn’t wanna do some color combo or pattern I regret. So we decided to just update or change “the Accent color” Our stock Interior was “Fawn” & the Accent color was a Light tan with ostrich pattern. I Will post a picture below of what the stock interior looked like when it was NEW in 2012
Attachments
Last edited: