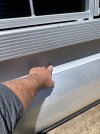
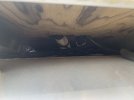
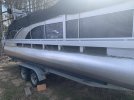
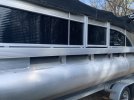
I’m thinking you might be confusing the Waveshield for the side skirts on each side of the boat. The side skirts are close out panels between the decking and top of the toons and mine are held on by about 20 bolts, washers and self lockers. Once you unbolt the starboard side you have access to all of the boats engine harnesses and can see clearly to the other side. All those cables are routed through channels on top of the toons that offers some protection but mainly keeps them centralized. I take mine off to clean the toons so I don’t end up with streaks and that’s were I ran all of the cabling for my amps, subs and all the new speaker wiring. Mine are coming off tomorrow and I’ll take pics.